
|
|

|
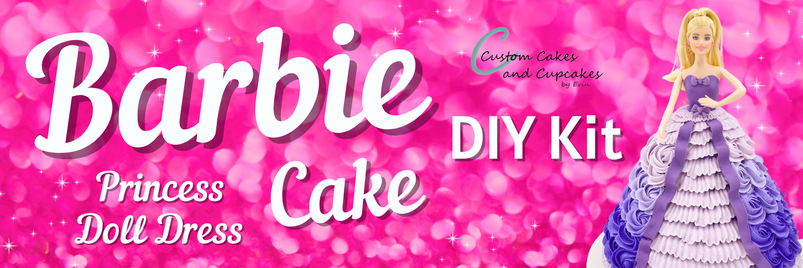
How to make a
|
|
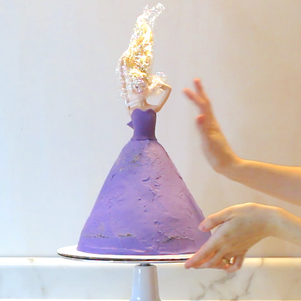
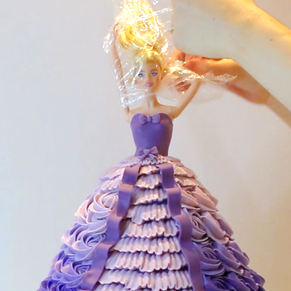
Who had one of these growing up? Doll cakes make such a fantastic (edible!) centerpiece for a princess party!
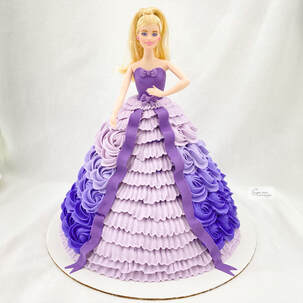
Although it is a common theme, there are many ways to be creative with this design by using different color schemes, added decor, or personalization. Use this as an opportunity to select a new Barbie or princess doll as a party gift, or give one of your favorite dolls a cake dress!
Although it is a common theme, there are many ways to be creative with this design by using different color schemes, added decor, or personalization. Use this as an opportunity to select a new Barbie or princess doll as a party gift, or give one of your favorite dolls a cake dress!
What You Need
Find links for supplies and materials at the bottom of this page
Barbie or similar sized doll
Fondant (find my recipe HERE, or any type will work)
Rolling pin
Cornstarch
Doll Cake Fondant Bodice Cutter
Purple gel coloring (or desired colors)
Toothpicks/skewers
Cake and buttercream frosting recipes (find my recipes HERE) or mixes
Round cake pans in 4", 6", 8" and 9" sizes (or similar sizes)
Cake decorating turntable
Offset spatula
Flexible cake smoother/scraper (a dough/bowl scraper or acetate sheet work too)
Piping bags
Piping tips: 1M, 102 or 103 or other small petal tip, 125 or other large petal tip, large couplers
Water
Small brush
Plastic wrap/cling film
Click here for my Barbie Princess Doll Dress Cake DIY Kit!
Optional: alphabet embossing stamp set and number cutters for personalization
Optional: bow/ribbon mold or other decor
Optional: edible glitters, luster dusts, paints, shimmer sprays, sprinkles
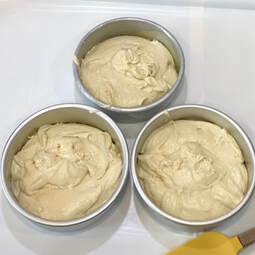
Step 1: Baking the Cake Layers
|
Mix your favorite cake recipe (find all my recipes HERE) or a boxed cake mix if desired.
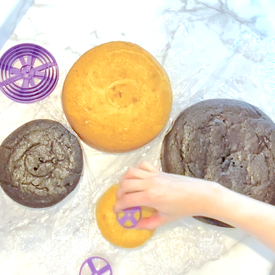
Mix up 2 batches of cake batter. This tutorial shows alternating layers of my vanilla and chocolate cake layers, but you can choose any flavor(s) you like! Find my recipes HERE! Optional – place parchment circles into cake pans for easier release. You can also cut circles out of rolled parchment paper. Spray sides of cake pans with nonstick cooking spray/canola spray. Divide the cake batters across a 9" round cake pan, an 8" round cake pan, a 6" round cake pan, and a 4" round cake pan, filling each of these approximately 1/2 full. I have found these cake pan sizes require easier carving, but sizing is of course entirely your choice. You can also fully carve from all 8" or 9" layers as well. This will just require more time carving and more cake batter. |
|
|
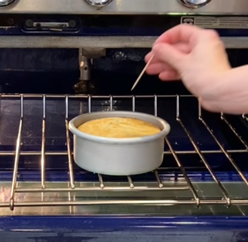
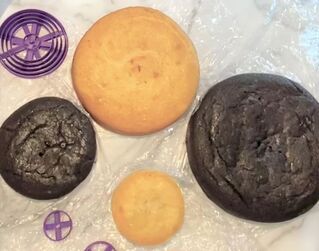
Bake layers as directed by recipe or mix package, 1 or 2 cake layers at a time. Layers will be done once a toothpick comes out clean from the center, so timing will vary. Allow to cool completely before decorating. Run a knife around the edge of the pan to allow the layer to release easier.
|
|
|
Wrap each layer tightly in plastic wrap and store in the freezer in airtight bag or container until ready to decorate.
|
|
Step 2: Preparing Buttercream Frosting
|
Find my vanilla buttercream frosting recipe HERE, or use your favorite recipe or prepackaged frosting if desired.
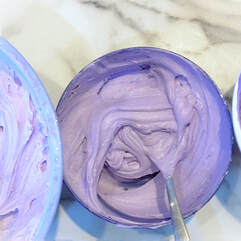
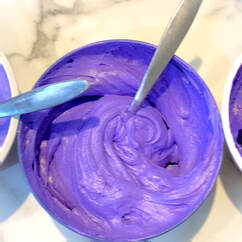
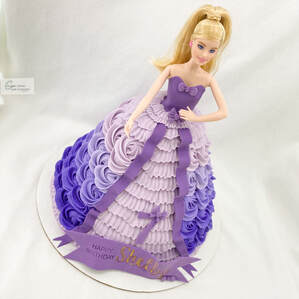
This tutorial is for an ombre purple color scheme, with deep royal purple, light pastel purple, and multiple shades in between for a total of 5 shades of purple. The color scheme is totally up to you, however! Divide the buttercream frosting into 5 bowls and color as follows: - 1-2 drop purple/violet gel coloring - 2-3 drops purple/violet gel coloring - 4-6 drops purple/violet gel coloring - 6-8 drops purple/violet gel coloring - 10+ drops purple/violet gel coloring Colors will deepen with time, so it works well to make the buttercream frosting a day or two in advance and stored in the refrigerator in an airtight container. If refrigerating, allow buttercream to warm up to room temperature (this may take a few hours) before using to make piping easier. Keep covered until ready to use. Stir well just prior to using to press out air bubbles. |
|
Step 3: Stacking, Carving, and Crumb Coating the Cake
|
Cut small circles in the center of each cake layer using either circle cookie cutters or freehand this carefully with a knife. These don't need to be shaped perfectly - just enough space for your doll to fit inside.
|
|
|
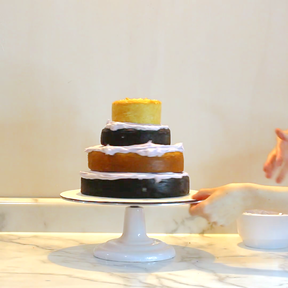
Using any shade of the purple buttercream (or use a bit of each so as not to run out of one of the colors), spread some on the center of your cake board to help secure the first layer. Place the 9" layer down, and spread some more buttercream on top and around the center hole. Repeat this with the 8" layer, the 6" layer, and the 4" layer.
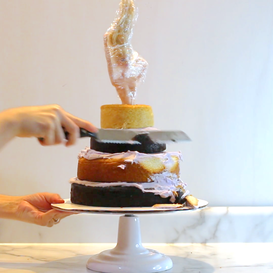
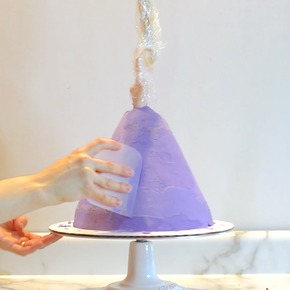
Wrap your (unclothed) doll in plastic cling wrap using two pieces. One piece of wrap will cover her from her waist to her toes. Place her arms up and then use a second piece to wrap her tummy up through her hair to keep her hair and arms out of the way. See video. Insert her into the cake. Using a serrated knife, begin to carve the layers into a cone shape. This may take many cuts. Take your time, and every so often, step back and look at the shape from a distance to ensure everything looks even. BE CAREFUL with where your opposite hand and fingers are placed during this time! Add some of the cake scraps and press/sculpt onto the top of the dress to create a more gradual shape. See video. Save and freeze cake scraps to make cake pops, cakesicles, or just eat them while you decorate! |
|
|
|
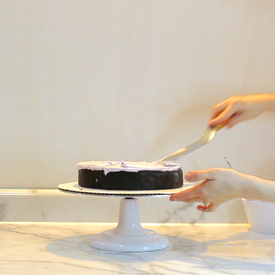
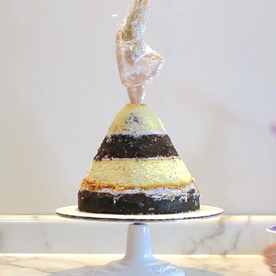
Begin to spread more buttercream frosting all over the cake to create the crumb coat. This layer of frosting will keep all the crumbs from the cake layers from getting into the final decorating layer. Cover the entire dress, and continue a bit above the top cake layer as well. Using a flexible smoother/scraper (my recommendations are linked below) or a rigid acetate sheet, smooth out the buttercream frosting. Since we are going to pipe decorations on top of this layer, it does not need to be perfectly smooth. See video.
Place the doll cake into the refrigerator for 20-30 minutes for the crumb coat to chill and set. |
|
|
Step 4: Making the Fondant Bodice
|
Click HERE for my homemade MARSHMALLOW FONDANT recipe and tutorial to make your own fondant, or use store bought or your own favorite recipe.
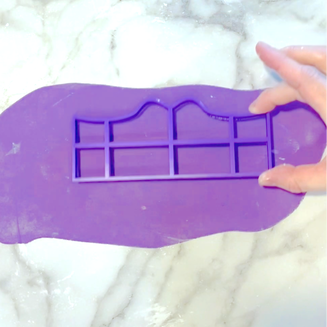
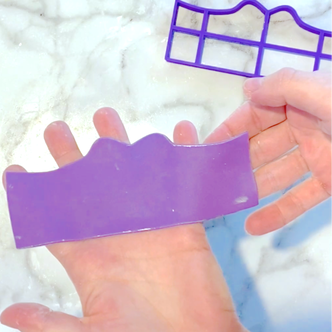
Color a small piece of fondant purple (or other desired color) by kneading in gel-based coloring. Dust your surface with cornstarch to prevent fondant sticking. Roll out the purple fondant and cut out the bodice using the cutter linked below (or freehand cut with a small knife or blade). |
|
|
|
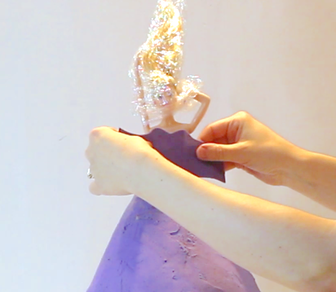
Brush the doll's torso, chest, and back with water. Starting at the front, center the fondant bodice on the doll, and wrap the sides around to the back. Hold it on for a few seconds to make sure it adheres. Using a small knife or blade, carefully cut off excess fondant at the back. Brush a small amount of water along the back "seam". See video.
|
|
|
Step 5: Preparing to Decorate
|
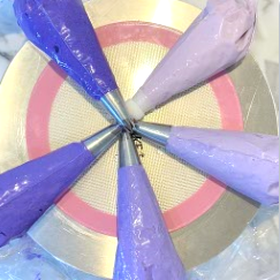
Stir each of your purple buttercream colors by hand to press out any air bubbles that may have developed.
Add colors and tips to piping bags as follows: - 125 or other large petal tip: place this into a bag, and cut the tip of the bag off so that the metal tip stays in place, but sticks through. Add the lightest shade of purple buttercream to this bag. - 102 or other small petal tip: add the tip to the bag as above, and add the lightest shade of purple to this bag as well. - 1M tip(s): if you have multiple 1M tips, add each to piping bags, and place each color into each bag. If you are using one 1M tip, you can start with just the darkest purple color, then once you've finished piping this, remove and clean the 1M tip, then add it to another bag for the next shade of purple. If you are using a large coupler set, remove the ring from the coupler, and add the coupler to the bag. Cut the tip of the bag off so that the coupler stays in place, but sticks through. Add each purple buttercream color to a bag with a coupler, then add the 1M tip with the ring when you are ready for each color. |
|
|
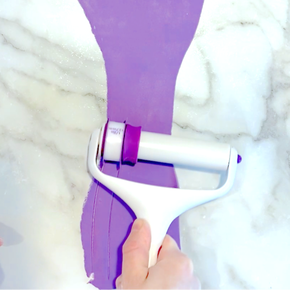
Cut two long ribbons from the purple fondant using either the fondant ribbon cutter linked below, using a cake scraper, or freehand cut these. Keep these in an airtight container until ready to use later.
|
|
|
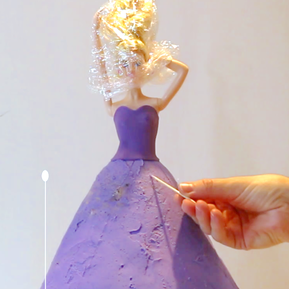
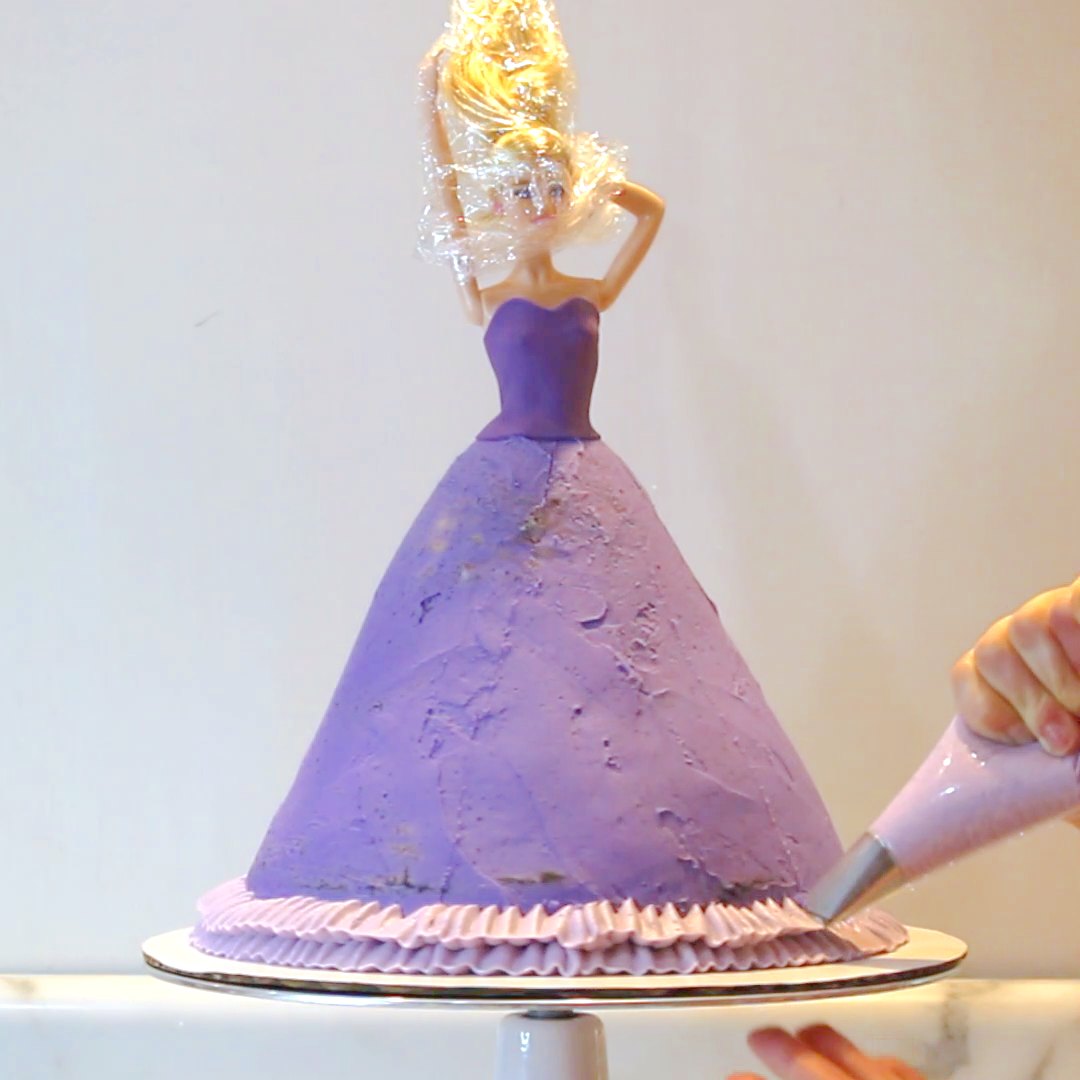
Use a toothpick to draw out where the ruffles will be piped. This tutorial and video show ruffles piped around the bottom, in layers down the center, and at the top, but you may choose if and where you'd like to pipe your ruffles. I do recommend piping ruffles around the bottom at least, as this helps to cover the bottom easily and neatly.
|
|
Step 6: Piping the Dress
Piping Large Ruffles
|
Start with the 125 large petal tip. Hold the bag so that the narrow end of the tip is away from the cake, and the wide end is against the cake. Squeeze to begin piping, and maintain even pressure throughout. Move the bag in very small up and down motions while turning the cake turntable to create ruffles. If you need to take a break, reposition your grip, or refill your bag, release pressure entirely, then restart right next to where you left off. Pipe two rows of ruffles along the bottom, then repeat layers of ruffles up the center of the cake as shown in the video.
|
|
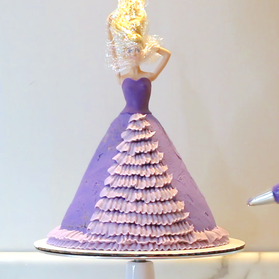
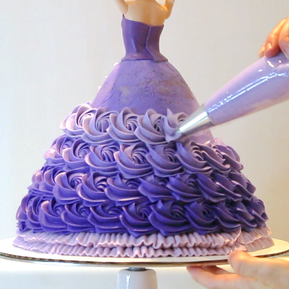
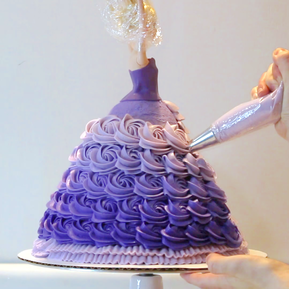
Piping Rosettes
|
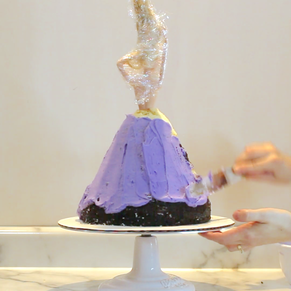
Using the bag with the 1M tip and the darkest shade of purple buttercream, begin piping rosettes just above the ruffle border. Squeeze the bag with medium pressure, then spiral around the center one time while maintaining even pressure. Gradually release and pull away to complete the spiral. See video. Repeat around the dress, slightly overlapping each new rosette on the previous one to prevent open spaces on the dress.
|
|
|
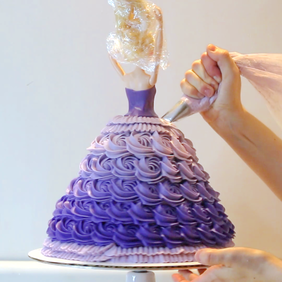
Switch to the piping bag with the next shade of purple buttercream (we are moving from darkest to lightest) with the 1M tip. Starting just above the first row of rosettes, pipe another row of rosettes in this color as described above. Repeat this with the remaining purples, continuing from darkest shade to lightest shade.
|
|
|
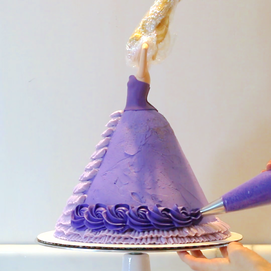
Piping Large Ruffles
|
Switch back to the 125 large petal tip with the lightest purple color. Pipe two rows of ruffles at the top just like the bottom rows.
|
|
|
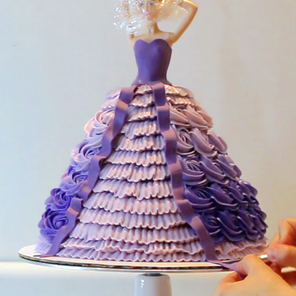
Before piping the top of the dress, press the fondant ribbons into the buttercream where the rosettes and ruffles meet, starting at the top of the dress, down to the bottom, in a wavy style to give the illusion of movement. Cut off at desired length. See video.
|
|
Piping Small Ruffles
|
Finally, use the 102 small petal tip to pipe two rows of small ruffles at the very top of the dress. Pipe these using the same method as the large ruffles, just keep the motion a bit smaller.
|

|
Step 7: Adding Decorations
|
The doll can be finished as is at this point, otherwise here are some extra decorating ideas if desired.
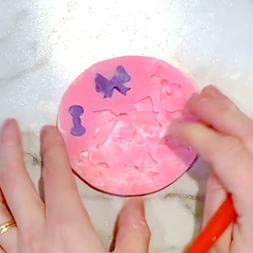
Use a silicone bow mold to create bows. Tip: use either Crisco/shortening or cornstarch for easy release. Attach these to the fondant bodice using water or to the buttercream dress using buttercream. Use other fondant molds or cutters to create decorations. |
|
Step 8: Unwrapping the Doll
|
Once you are finished decorating the cake, carefully unwrap the doll from the top piece of plastic wrap/cling film. Pose her arms and fix her hair how you'd like.
The bottom piece of plastic wrap around the doll's legs will remain in the cake until it is cut. If the doll came with any collars, jewelry, or other inedible accessories that you'd like to include, these can be added after any buttercream decorations have been crusted and set. Just be sure to remove them before cutting and serving the doll cake. |
|
|
Optional Decorating Ideas
|
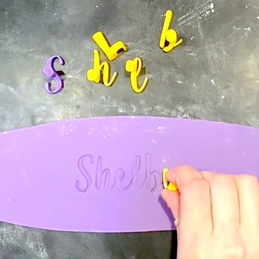
Doll cakes can be difficult to personalize with names and messages, so one way to add this is to create a fondant ribbon or plaque using alphabet embossing stamps as shown in the video. Products are linked below.
Add shimmer or sparkle using edible glitter dusts, shimmer sprays, or coordinating sprinkles. Pipe straps or small sleeves with buttercream, or create these with fondant. Capes, jewelry, belts, and more can be made as well! |
|

|
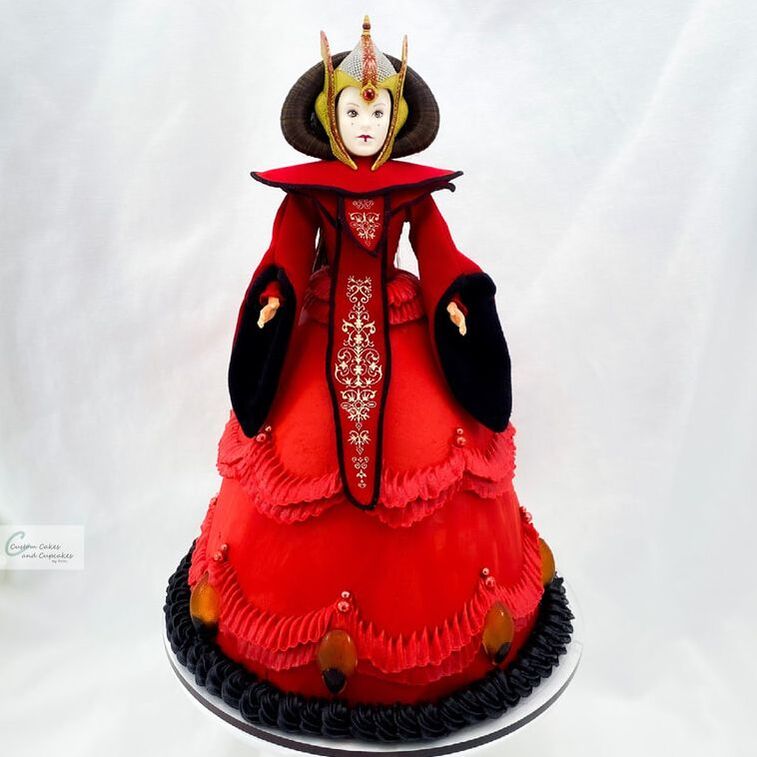
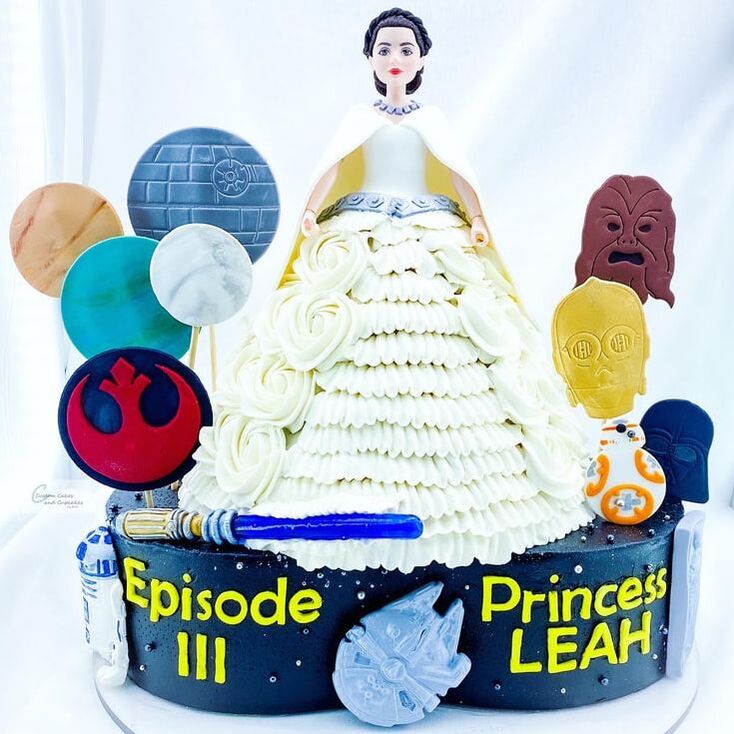
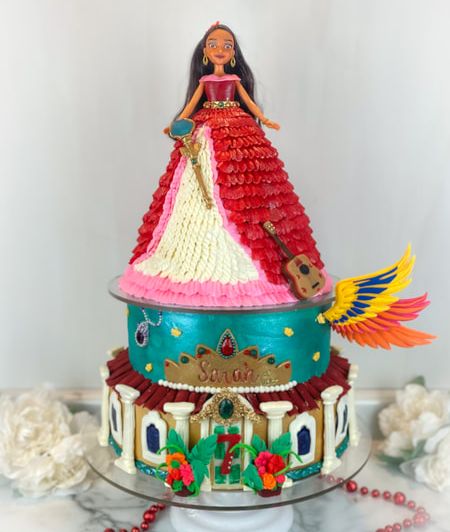
Here are some other ideas!
|
|
|

|
|
|
|
|
Helpful Notes
|
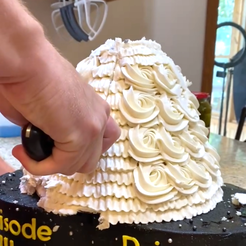
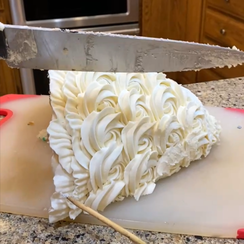
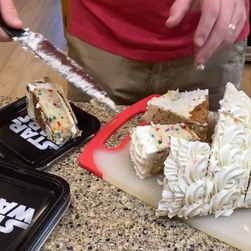
To cut this cake, remove the doll first. Be sure to give her a good bath!
I've found the easiest way to cut this cake shape is to start by cutting the entire cake in half, down the center. Place each half cone slab down on a cutting board, then begin cutting these into long slices. Cut these slices in half, or even in thirds to serve. These cakes serve approximately 22-24 people (depending upon how large or small you cut your slices). |
|

|
Supplies and Materials Links:
Barbie Princess Doll Cake Fondant Bodice Cutter: Custom Cutters and Embossers: custombakingbyerin.com
Homemade DIY Marshmallow Fondant Recipe
Recipes for cake batters and buttercream frostings
Gel coloring: Chefmaster liqua-gels and Americolor gel-pastes: Amazon Storefront
Flexible cake smoothers: Innovative SugarWorks: Amazon Storefront
Cake pans, offset spatulas, and turntable: Ateco, Wilton, various brands: Amazon Storefront
Piping bags, piping tips, and couplers: Wilton, Ateco, various brands: Amazon Storefront
Parchment circles and cake boards: Wilton and various brands: Amazon Storefront
Sprinkles and sprinkle mixes: Sweets & Treats, SprinklePop, SimpleSucre, and more: Amazon Storefront
Fondant rolling pin and tools sets: various brands: Amazon Storefront
Fondant Ribbon Cutter Set: Wilton: Amazon Storefront
Barbie and similar dolls: Amazon Storefront
Alphabet Embossing Stamp Sets: Custom Cutters and Embossers: custombakingbyerin.com
Bow mold and other decorative molds: various brands: Amazon Storefront
Serrated knife for carving 3D cakes: Wusthof: Amazon Storefront
|
I would love to see your doll cakes!
Tag me @erin.cakesandcupcakes on Instagram, TikTok, and Facebook!
|

|

Need more doll cake videos? Here are others I've made, and I have more coming soon!
|
|
|
Note: purchases made from links on this page may result in my earning a commission.