|
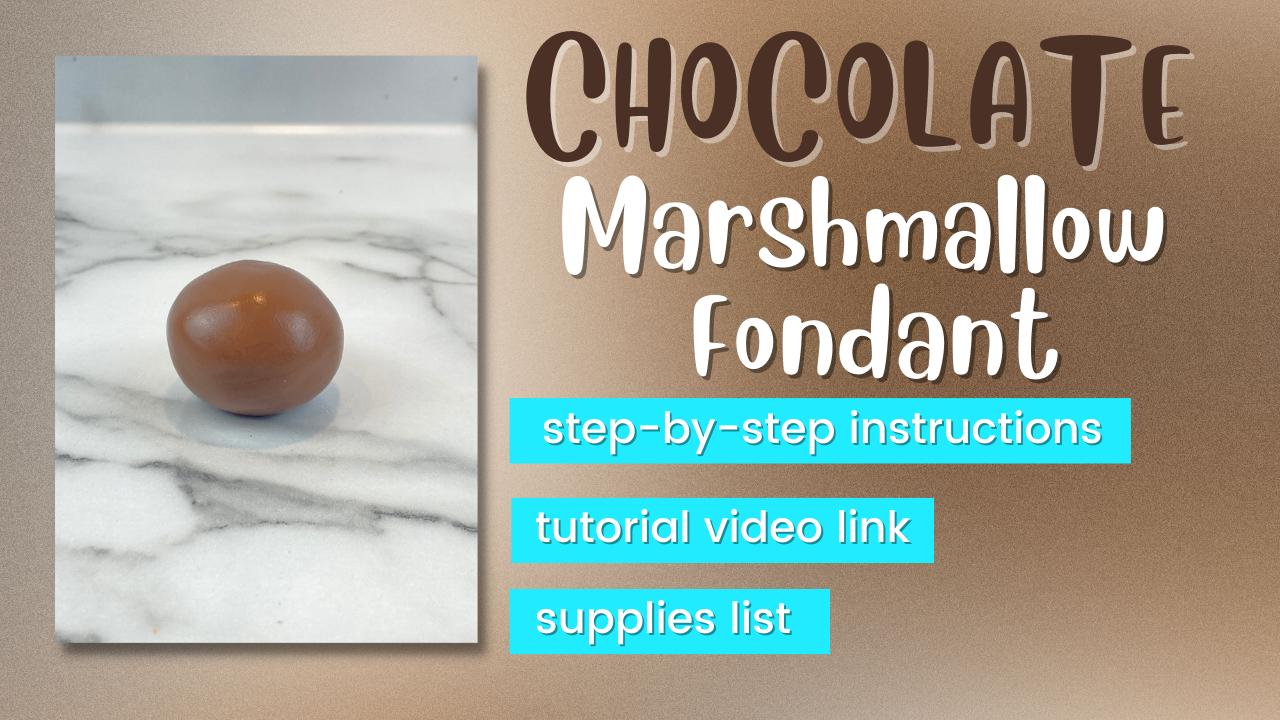
How to make
CHOCOLATE
|
|
Here is an exciting new spin on my marshmallow fondant recipe, and it's CHOCOLATE!
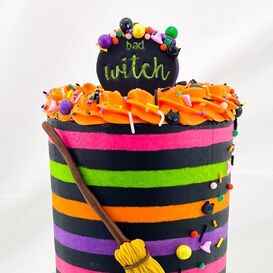
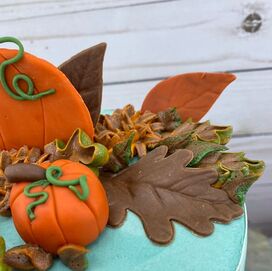
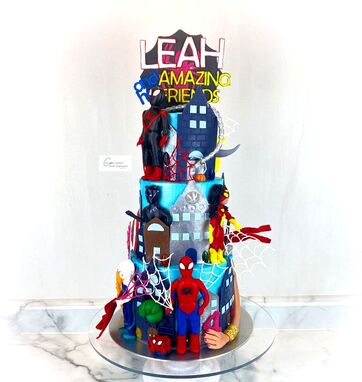
I use it just how I use my "regular" marshmallow fondant recipe: to create flat cupcake toppers and plaques, to sculpt animals and 3D figures, to make decorations from silicone molds, and more! It's just as easy to make, and tastes great, as it tastes like CHOCOLATE!
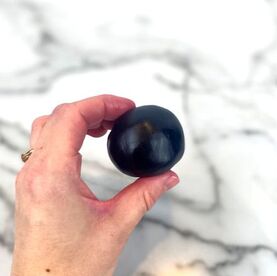
Since chocolate fondant is already a beautiful chocolate brown color, it's easy to make dark colors such as brown, navy, and black without needing much added coloring!
Make sure to read all important notes below.
I use it just how I use my "regular" marshmallow fondant recipe: to create flat cupcake toppers and plaques, to sculpt animals and 3D figures, to make decorations from silicone molds, and more! It's just as easy to make, and tastes great, as it tastes like CHOCOLATE!
Since chocolate fondant is already a beautiful chocolate brown color, it's easy to make dark colors such as brown, navy, and black without needing much added coloring!
Make sure to read all important notes below.
Recipe Ingredients
|
20 oz marshmallows (regular, mini, or jumbo-sized will all work)
3 Tbsp water 1 lbs powdered sugar+ (about 1/2 a bag, keep additional on hand to alter consistency as needed) 3 oz cocoa powder, sifted |

|
Additional Ingredients and Supplies
|
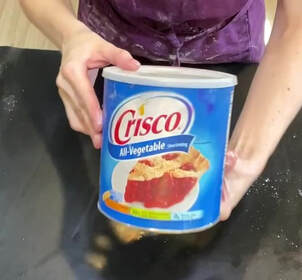
Vegetable shortening (Crisco)
Fondant mat or other clean surface to work on Scale Microwave-safe large bowls Large spoon or spatula Additional powdered sugar to add when needed Gel colorings, fondant tools, cutters, embossers, molds if desired |
|
Directions
|
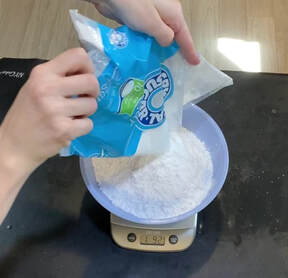
Place a large bowl on your scale and tare to zero the scale.
Pour in 1 lb of powdered sugar (roughly 1/2 a bag). Set this aside. |
|
|
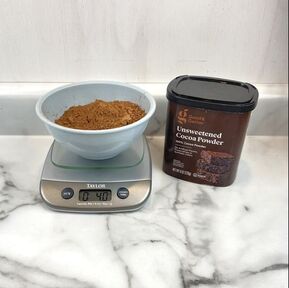
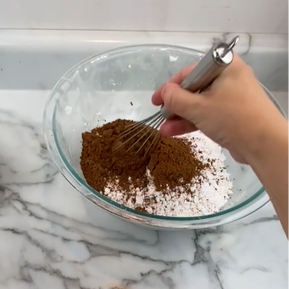
Place another bowl on your scale and tare to zero the scale.
Sift the cocoa powder through a strainer or sifter and pour in the 3 oz of cocoa powder into the bowl. |
|
|
Mix this into the powdered sugar.
|
|
|
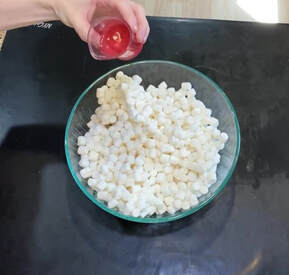
Place a large microwave-safe bowl onto your scale and tare again to zero it.
Pour in 20 oz of marshmallows. Add the 3 Tbsp of water to this. |
|
|
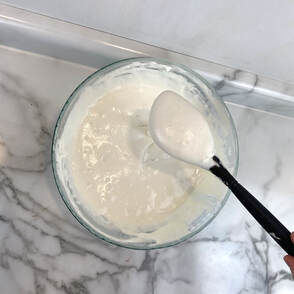
Microwave marshmallows/water mixture in 30-second increments, stirring after each instance. Repeat this until the marshmallow mixture is completely smooth, and there are no more defined marshmallow lumps.
|
|
|
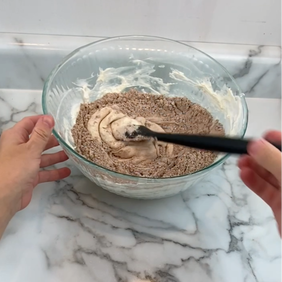
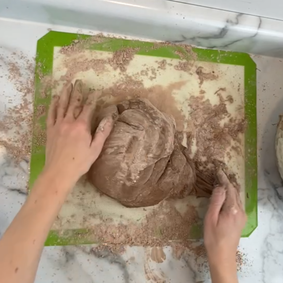
Fold the weighed powdered sugar and the sifted cocoa powder into your marshmallow mixture in small portions, and stir each time until combined. Once the mixture becomes too difficult to stir, grease your surface and your hands well with Crisco/shortening, and knead in remaining powdered sugar in small portions until fully combined.
|
|
|
|
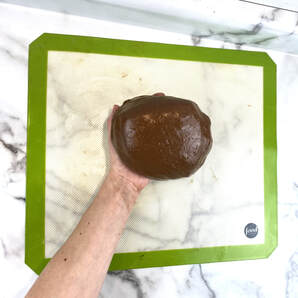
The fondant is fully kneaded once it is completely smooth and does not feel grainy from the sugar and cocoa powder.
|
|
Yield
This recipe makes approximately 2.25 lbs of fondant.
Storage and Freshness
|
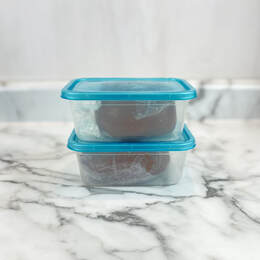
Rub the fondant in Crisco/shortening to help prevent drying, and wrap it tightly in plastic wrap. Store it in an airtight container at room temperature out of sunlight (storing it out of sunlight is more important after you've colored it rather than when it's still just its chocolate color).
It will last until the expiration dates on the powdered sugar, cocoa powder, and marshmallows you used (I go by whichever is soonest). |
|
Important Notes
|
If your fondant needs to be of a stiffer consistency in order to sculpt figures or create decorations that need to withstand gravity to maintain their shape, knead in extra powdered sugar until you can make a ball that won't visibly lose its shape when you set it on the counter and watch it. Tylose or CMC powder may also be kneaded in to help with strength and elasticity, but I've found just kneading in extra powdered sugar works best.
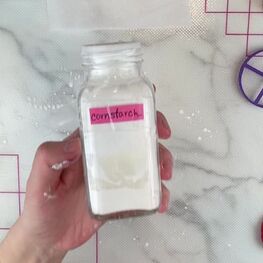
If you'd like to add flavoring to your fondant, a few drops of vanilla extract, almond extract, or other extract may be added to taste. You may need to knead in some extra powdered sugar if the extracts alter the consistency. If adding a spice such as cinnamon to taste, note that this will alter the color and likely leave flecks of brown cinnamon color as well. Use cornstarch on your mat or surface when using fondant, and also on your rolling pin an any cutters or embossing stamps to prevent these from sticking. Use shortening/Crisco when using silicone molds for easy release. Cornstarch may be used for this instead. I like to keep extra cornstarch and powdered sugar in empty spice/sprinkle jars to sprinkle on when needed. |

|
|
Use only gel-based colors to color your fondant. Links for these are below. Water-based colors will water down the recipe and cause the fondant to become sticky. Fondant colors very easily, just knead in drops of gel coloring, adding more until desired colored is reached. Coat your hands in shortening prior to adding colors to help it wash off skin more easily. Gloves may be used if you wish, but these will need to be coated in shortening, as fondant can stick to gloves.
This recipe is great for making dark colors such as black, brown, and navy, as not a ton of coloring is needed! |

|
|
|
If you want your fondant decorations that you've created to dry hard, store them at room temperature OPEN TO AIR (not in a container) out of the sunlight. This chocolate fondant recipe takes a bit longer to dry than my regular marshmallow fondant recipe, so allow a few extra hours to a day longer than you usually would.
If you want your decorations to remain soft and flexible, store them at room temperature in an AIRTIGHT CONTAINER out of sunlight. Attach these to your cake, cupcakes, or cookies with a dab of buttercream. |
|
|
Keep fondant covered at all times when not actively in use to prevent drying. If it feels dry or brittle, knead in some Crisco or other shortening to help moisturize and soften it.
Fondant pieces stick to one another very easily with just a little water. This briefly degrades the fondant and makes it sticky, so pieces may be attached to one another. |
|
Supplies and Materials Links
Fondant work mats: NY Cake and various brands: Amazon Storefront
Mini measuring beakers: Oxo: Amazon Storefront
Cutters and embossers products: Custom Cutters and Embossers: custombakingbyerin.com
Fondant rolling pin and other tools: various brands: Amazon Storefront
Silicone molds: various brands: Amazon Storefront
Gel coloring: Chefmaster liqua-gels and AmeriColor gel-pastes: Amazon Storefront

|
I would love to see what you make with your chocolate fondant!
Tag me @erin.cakesandcupcakes on Instagram, TikTok, or Facebook! |
|
Note: products purchased from links on this page may result in my earning a commission.