
|
|

|
How to make a
|
|
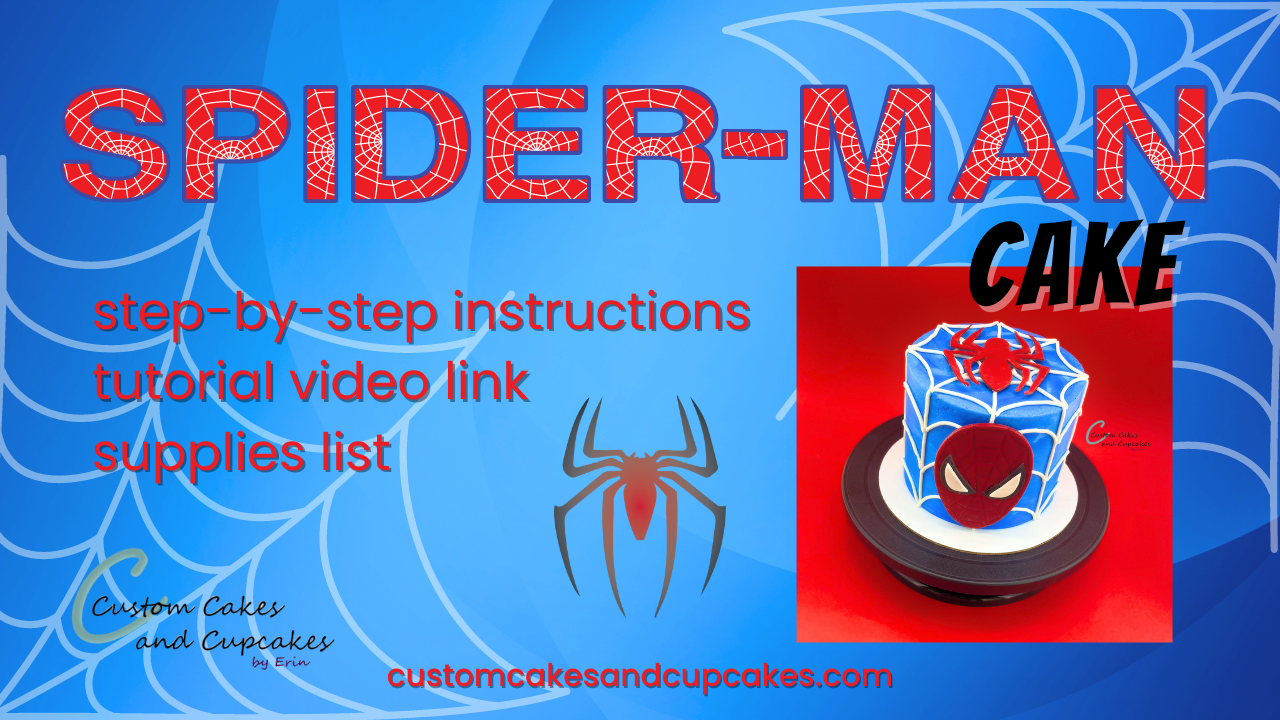
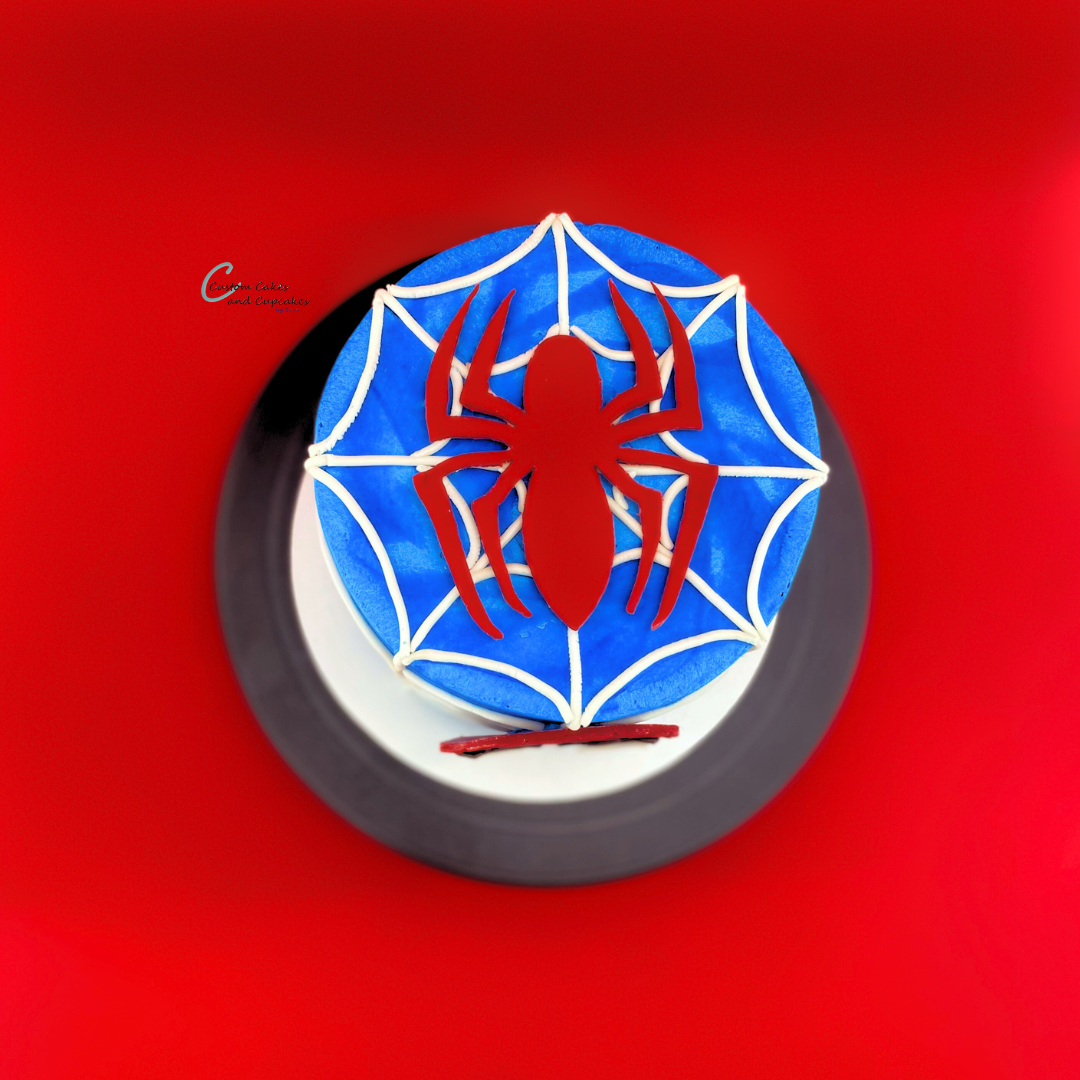
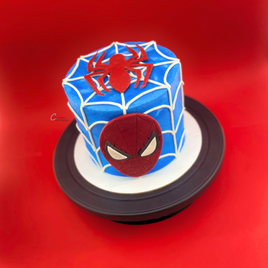
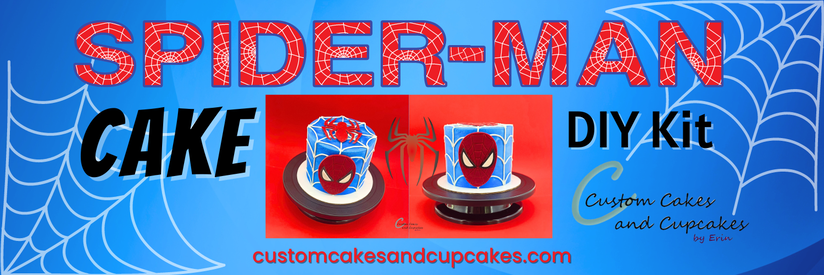
With great FLOUR, comes great responsibility. Let's create this friendly neighborhood Spider-Man cake!
This cake design is very doable for all cake decorators! With all the exciting Spider-Man characters gaining popularity, there are many ways to personalize and customize this theme too!
This cake design is very doable for all cake decorators! With all the exciting Spider-Man characters gaining popularity, there are many ways to personalize and customize this theme too!
What You Need
Find links for supplies and materials at the bottom of this page
Fondant (find my recipes HERE, or any type will work)
Rolling pin
Cornstarch
Spider-Man Face Cutters and Embosser Set
Spider-Man Logo Spider Cutter
Gel coloring: blue, red, black, and white
Cake and buttercream frosting recipes (find my recipes HERE) or mixes
Cake pans 8", 6", or 5" sizes
Cake board
Cake decorating turntable
Offset spatula
Cake smoother/scraper
Fondant extruder
Click here for my Spider-Man Cake DIY Kit!
Step 1: Making the Fondant Spider-Man Face
|
Click HERE for my homemade MARSHMALLOW FONDANT recipes and tutorial to make your own fondant, or use store bought or your own favorite recipe.
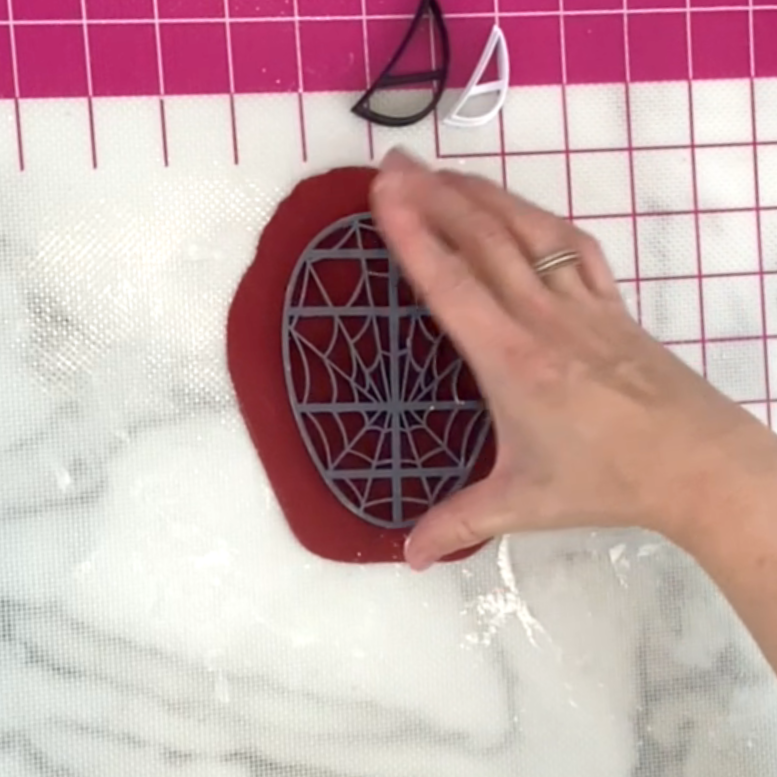
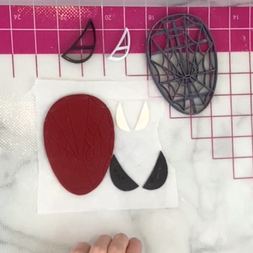
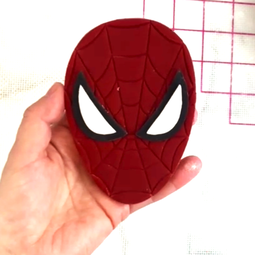
NOTE: make the Spider-Man face at least a day or two in advance, as they will require drying time. Using red gel-based coloring, color a small piece of fondant red. You can also use pre-colored red fondant. Dust your surface with cornstarch to prevent fondant sticking. Roll out the red fondant and use the Spider-Man face Cutter/Embosser to cut out Spider-Man's face with webbing detail embossed. Using black gel-based coloring, color a small piece of fondant black. I like to use my CHOCOLATE fondant recipe to make black fondant easily. You can also use pre-colored black fondant. Roll out the black fondant and use the larger eye cutter from the Spider-Man Face Cutters and Embosser set to cut two eyes. Make sure to flip one over to create a right and a left eye. Roll out some white fondant and use the smaller eye cutter from the set to cut two of these eyes. Again, make sure to flip one over to create a right and a left eye. Attach the pieces together with a little brush of water and allow this to allow to dry at least overnight. |
|
Step 2: Making the Fondant Spider Logo
|
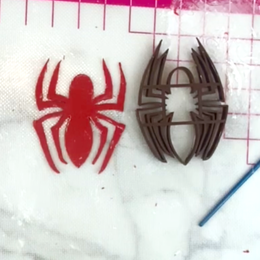
NOTE: make the fondant spider at least a day or two in advance, as this will require drying time.
Color a piece of fondant red with gel coloring or use pre-colored red fondant. Dust surface with cornstarch to avoid sticking and roll out the red fondant. Use the Spider-Man Logo Spider cutter to cut this out. It is helpful to use a small brush to help release the legs from the narrow areas of the cutter. Arrange/reshape legs as needed. Allow this to dry overnight. |
|
Step 3: Baking the Cake Layers
|
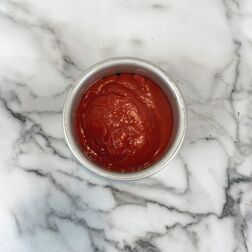
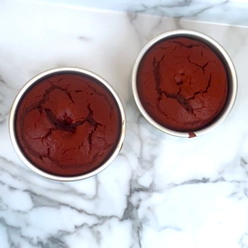
Mix your favorite cake recipe (find all my recipes HERE) or a boxed cake mix if desired.
NOTE: it is helpful to bake cake layers ahead of time and freeze them until ready to decorate. Decide which flavor(s) and size to bake. This design works well on any cake size. A very tall or very short cake will have a different look. This tutorial features two 6" red velvet cake layers, but sizing is of course entirely your choice. My recipes can be found HERE, or you can use a preferred recipe, a boxed cake mix, or purchase a cake from a grocery store to decorate and skip this step. Optional – place parchment circles into cake pans for easier release. You can also cut circles out of rolled parchment paper. Spray sides of cake pans with nonstick cooking spray/canola spray. Fill your cake pan(s) approximately 1/2 to 2/3 full with batter. Bake layers as directed by your recipe or mix package, 1 or 2 cake layers at a time. Layers will be done once a toothpick comes out clean from the center, so timing will vary. Allow to cool completely before decorating. Run a knife around the edge of the pan to allow the layer to release easier. Wrap in tightly in plastic wrap and store in freezer in airtight bag or container until ready to decorate |
|
Step 4: Mixing the Buttercream Frosting
|
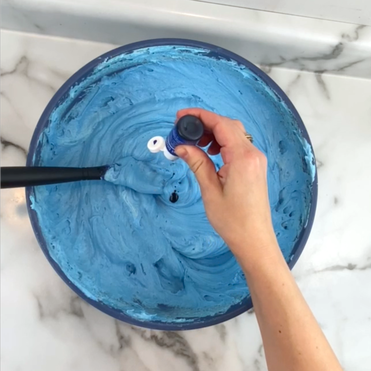
Follow your favorite buttercream frosting recipe (find all my recipes HERE) or use prepackaged frosting if desired. I used my vanilla buttercream frosting recipe for this cake.
NOTE: buttercream frosting can be made a day or two ahead of time and stored in airtight containers in the fridge. Getting buttercream a deep royal blue will take a couple of days for the color to deepen and saturate. Color the buttercream with 8-10 drops of blue gel coloring and stir well by hand or use a mixer on lowest speed. Store in an airtight container in the fridge, and then check the color the next day. Add more blue gel coloring if desired, and return to the fridge until ready to use. If refrigerating, allow buttercream to warm up to room temperature (this may take a few hours) before using to make frosting the cake easier. Keep covered until ready to use. Stir well just prior to using to press out air bubbles. |
|
Step 5: Stacking and Crumb Coating the Cake
|
You can find my in-depth tutorial and tips for frosting smooth buttercream cakes HERE.
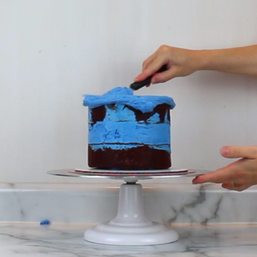
Using an offset spatula, spread a little of the blue buttercream onto the cake board and place the first layer down. Spread more of the blue buttercream onto the first layer, and then add the second cake layer. Repeat this on the second layer and place the third layer upside down on top (placing the top layer upside down gives a sharper edge to the top of the cake). If you are making a 2-layer cake, the second layer would be added upside down. Spread the buttercream over top of the cake with spatula, continuing with sides of cake as shown in video. Once the cake is covered, use a cake scraper to smooth the sides (see video), leaving a thin coat of buttercream. This may take several passes. Use your offset spatula to pull the extra buttercream on top in toward the center to create a sharp edge. Chill the cake in the refrigerator for 20-30 minutes or until the buttercream is set and firm to the touch. |
|
Step 6: Frosting the Final Coat
|
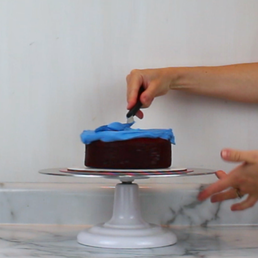
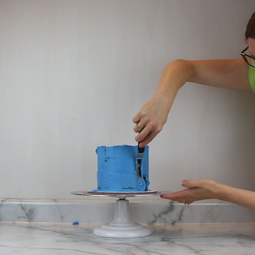
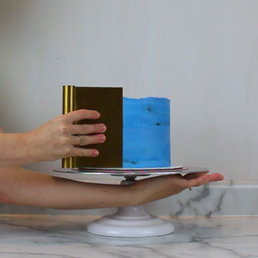
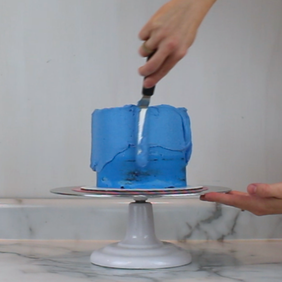
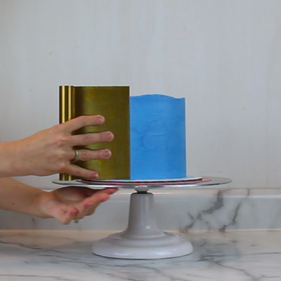
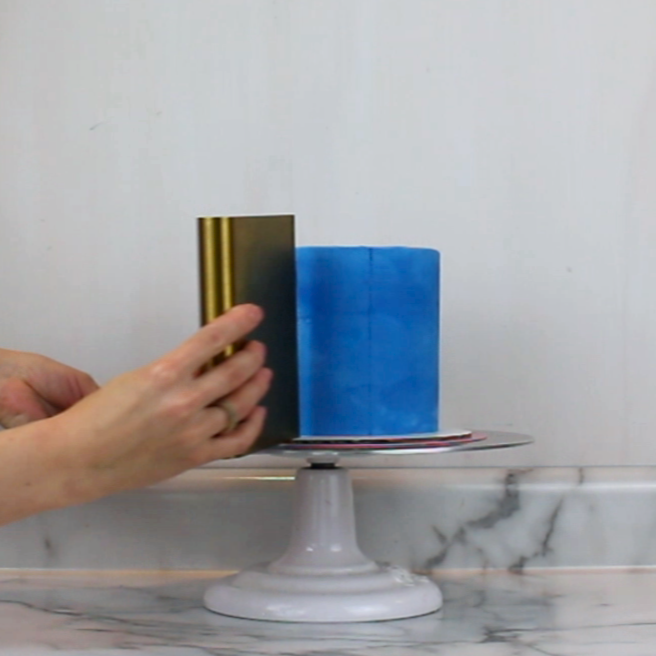
Spread a generous amount of the blue buttercream over the top of the cake and continue spreading over the sides, keeping the spatula straight against the sides as shown in the video.
Smooth the buttercream with your scraper. It is helpful to warm up the metal under hot water (wipe dry) to soften and smooth the buttercream. This may take several passes. Create the top edge by lightly pulling off extra buttercream in toward the center with your offset spatula just like when crumb coating. Think about working this parallel to the top of your cake, and not at an angle. Chill the cake in the refrigerator for 20-30 minutes or until the buttercream is set and firm to the touch. |
|
Step 7: Creating the Fondant Spider Webs
|
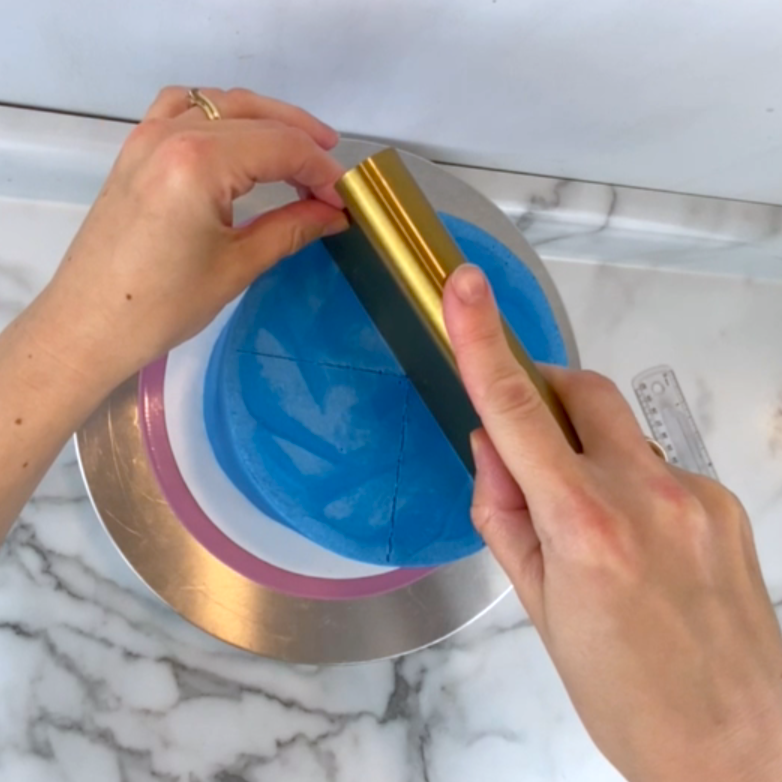
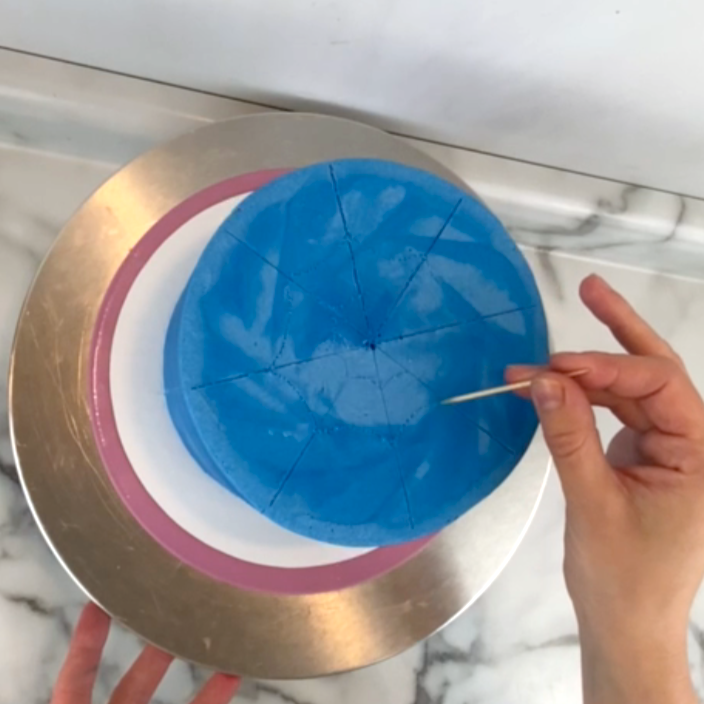
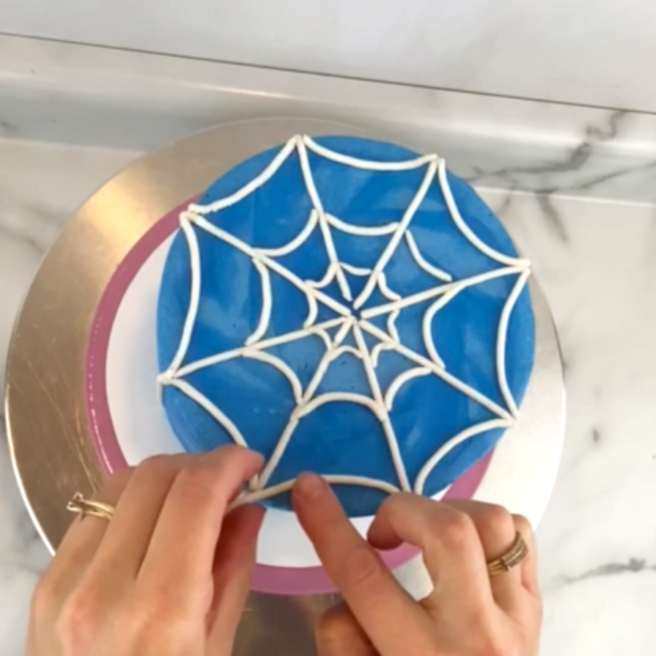
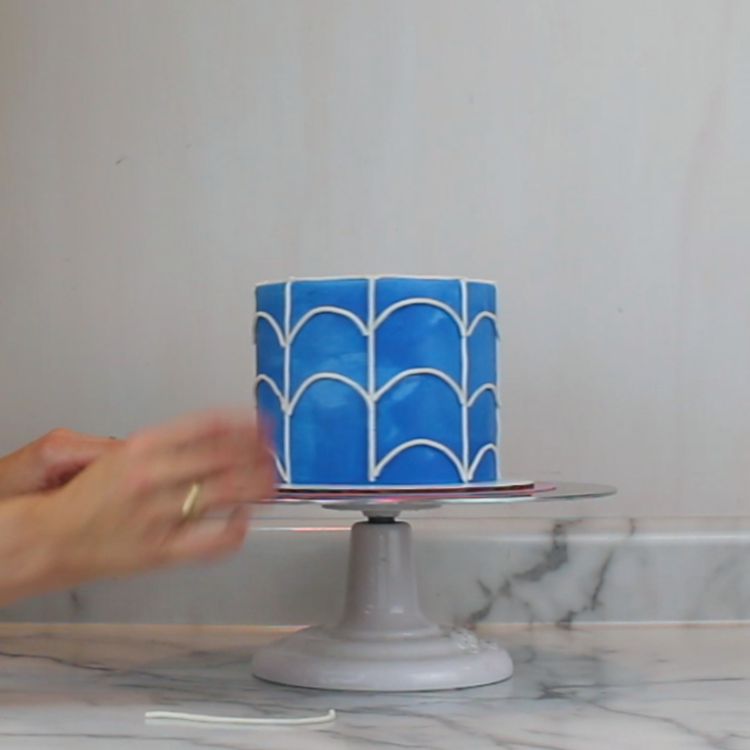
Using a scraper or other item with a straight edge, mark webbing lines across the top of the cake, as shown in the video. Continue these down the sides of the cake.
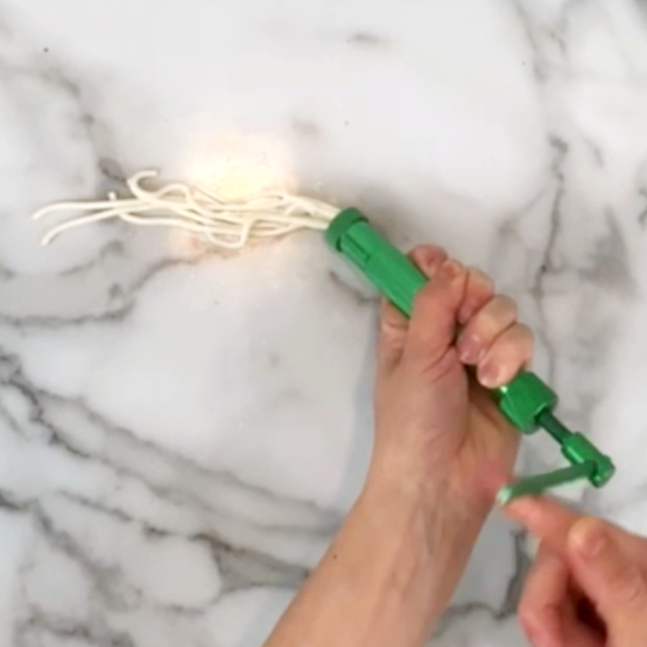
Using a circle cutter or a toothpick, mark the webbing arcs between the straight lines. Grease a fondant extruder with some shortening and insert some white fondant. Attach one of the extruding disks with round holes and extrude out several pieces of fondant "webbing". Lay these fondant webs along the marked lines on the cake. Fondant typically sticks easily to the cold condensation of buttercream cakes; however, a small brush of water can help attach it if needed. Continue to extrude more fondant webs as needed. |
|
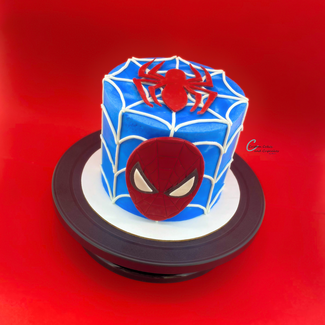
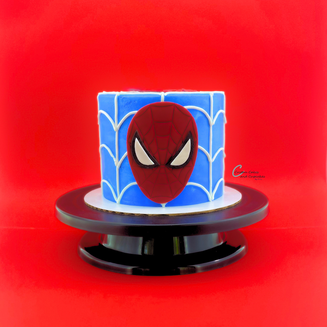
Step 8: Adding the Spider-Man Face and Spider
|
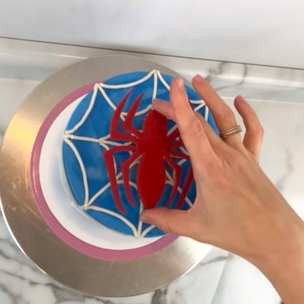
Place a dab of buttercream on the top center of the cake and place the fondant spider on top.
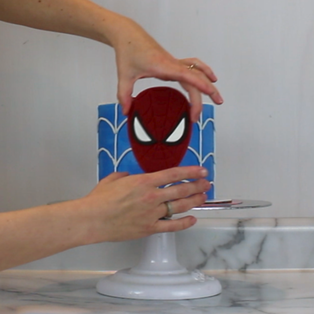
Place a dab of buttercream on the back of the Spider-Man face and place this on the front center of the cake. |
|
|
Optional Further Decorating Ideas
|
Use other fondant colors to create more Spider-Man characters to add around the cake as well. Use black, red, and white for Miles Morales' suit; and white, magenta, and white for Gwen Stacy's suit! Cut out a bell-shaped piece of white fondant to layer under Gwen's face for her hood.
Use embossing stamps and edible paint, add personalization to the fondant logo spider before it dries. Create more fondant webs separately and let these dry overnight. Place these onto the cake in different directions to create 3D web shooting toppers. Videos for examples of all these ideas can be found on my YouTube channel. |
|
|
Supplies and Materials Links:
Spider-Man Face Cutters and Embosser Set: Custom Cutters and Embossers: custombakingbyerin.com
Spider-Man Logo Spider Cutter: Custom Cutters and Embossers: custombakingbyerin.com
Homemade DIY Marshmallow Fondant Recipe
Homemade DIY Chocolate Marshmallow Fondant Recipe
Recipes for cake batters and buttercream frostings
Gel coloring: Chefmaster liqua-gels and Americolor gel-pastes: Amazon Storefront
Cake pans, offset spatulas, angled spatulas, scrapers, turntable, and brushes: NY Cake, Ateco, Wilton, various brands: Amazon Storefront
Parchment circles and cake boards: Wilton and various brands: Amazon Storefront
Fondant extruder: various brands: Amazon Storefront
Fondant rolling pin and other fondant tools: Wilton and various brands: Amazon storefront
|
I would love to see your Spider-Man cakes!
Tag me @erin.cakesandcupcakes on Instagram, TikTok, and Facebook!
|
|

Note: purchases made from links on this page may result in my earning a commission.